Do you want a simple yoga pose that strengthens your back, boosts energy, and helps you relax? Then Bridge Pose (Setu Bandhasana) is perfect for you!
This beginner-friendly pose is great for people of all ages, whether you're just starting yoga or have been practicing for years. In this guide, we’ll explore:
-
What Bridge Pose is
-
Amazing benefits of Bridge Pose
-
Easy step-by-step instructions
-
Helpful tips for beginners
-
Fun variations to try
Let’s dive in!
What Is Bridge Pose (Setu Bandhasana)?
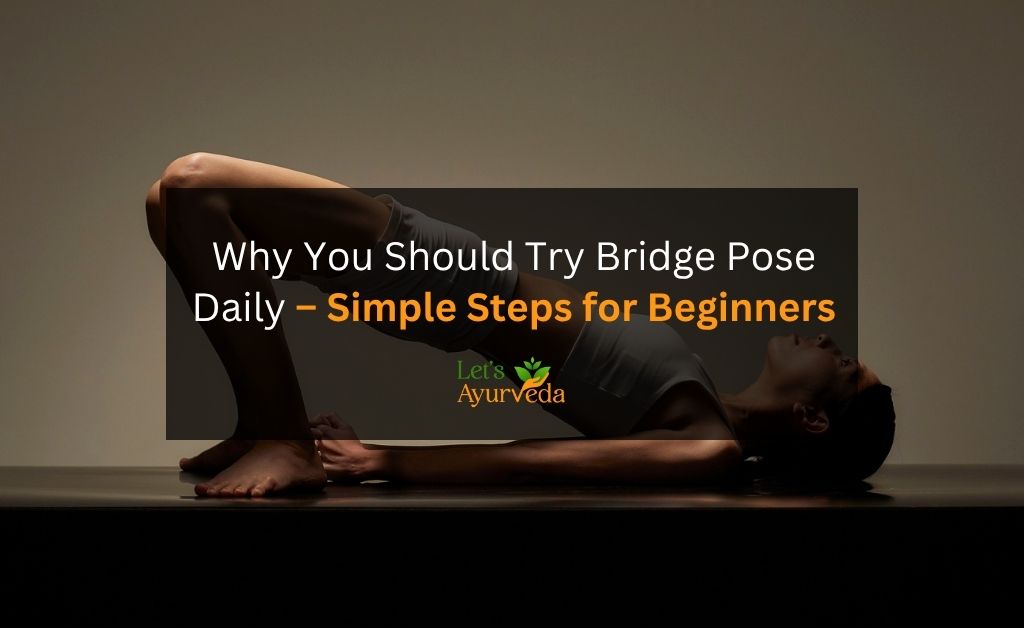
Bridge Pose, or Setu Bandhasana in Sanskrit, is a gentle backbend that lifts your hips toward the sky, forming a "bridge" shape with your body. It’s a great way to stretch your spine, open your chest, and strengthen your legs.
Unlike complicated yoga poses, Bridge Pose is easy to learn and can be done by almost anyone. Plus, you don’t need any special equipment—just a yoga mat (or a soft surface) and your body!
Top Benefits of Bridge Pose
Why should you add Bridge Pose to your daily routine? Here are some awesome benefits:
1. Strengthens Your Back and Spine
Sitting for long hours can make your back stiff. Bridge Pose helps by stretching and strengthening your spine, reducing back pain, and improving posture.
2. Opens Your Chest and Lungs
If you often feel tight in your chest, this pose helps expand your lungs, making breathing deeper and easier.
3. Tones Your Legs and Glutes
Bridge Pose works your hamstrings, thighs, and glutes (butt muscles). Regular practice can make your legs stronger and more toned.
4. Reduces Stress and Anxiety
This pose calms your mind, relieves mild depression, and helps you relax after a long day.
5. Improves Digestion
By gently massaging your abdominal organs, Bridge Pose can help with digestion and reduce bloating.
6. Helps with Better Sleep
Doing Bridge Pose before bed can relax your nervous system, helping you sleep deeper.
7. Great for Women’s Health
This pose can help with menstrual discomfort and menopause symptoms by improving blood flow in the pelvic area.
How to Do Bridge Pose (Step-by-Step Guide)
Ready to try it? Follow these simple steps:
Step 1: Lie Down on Your Back
-
Place a yoga mat or soft towel on the floor.
-
Lie down flat on your back with your knees bent and feet hip-width apart.
-
Keep your arms by your sides, palms facing down.
Step 2: Position Your Feet
-
Bring your heels close to your hips (about 6-8 inches away).
-
Make sure your feet are parallel and firmly pressed into the mat.
Step 3: Lift Your Hips
-
Press through your feet and slowly lift your hips toward the ceiling.
-
Keep your thighs and feet parallel—don’t let your knees splay outward.
-
Roll your shoulders under and clasp your hands beneath your back for extra support (optional).
Step 4: Hold the Pose
-
Stay in Bridge Pose for 5-10 breaths (about 20-30 seconds).
-
Keep your neck relaxed and avoid turning your head.
Step 5: Lower Down Slowly
-
Gently release your hands (if clasped).
-
Slowly lower your spine back to the mat, one vertebra at a time.
-
Rest for a few breaths before repeating 2-3 times.
Tips for Beginners
-
Don’t force your hips too high—lift only as much as feels comfortable.
-
Keep your knees aligned—they shouldn’t fall inward or outward.
-
Use a yoga block under your hips if you need extra support.
-
Breathe deeply—inhale as you lift, exhale as you lower.
Fun Variations to Try
Once you master the basic Bridge Pose, you can try these fun variations:
1. One-Legged Bridge Pose
-
Lift one leg straight up while in Bridge Pose for an extra challenge.
2. Supported Bridge Pose
-
Place a yoga block under your hips and relax fully.
3. Wheel Pose (Advanced)
-
For a deeper backbend, press into your hands and lift your whole torso off the ground.
When to Avoid Bridge Pose
While Bridge Pose is safe for most people, avoid it if you:
-
Have a neck or back injury
-
Are pregnant (unless approved by a doctor)
-
Feel sharp pain while lifting your hips
Always listen to your body and stop if something doesn’t feel right.
Final Thoughts
Bridge Pose is a simple yet powerful yoga pose that benefits your body and mind. Whether you want to strengthen your back, improve flexibility, or just relax, this pose is a great addition to your daily routine.
Try it today and feel the difference!
Did you find this guide helpful? Share it with your friends and start practicing together!
FAQs About Bridge Pose
Q: How long should I hold Bridge Pose? A: Start with 20-30 seconds and gradually increase to 1 minute.
Q: Can I do Bridge Pose every day? A: Yes! It’s safe to practice daily, but listen to your body.
Q: Why do my knees hurt in Bridge Pose? A: Make sure your knees are aligned over your ankles and not collapsing inward.
Q: Is Bridge Pose good for posture? A: Absolutely! It strengthens your back muscles and helps correct slouching.
Now that you know all about Bridge Pose, give it a try and enjoy the benefits!